How to Implement a Dropped Object Prevention Plan - Part 1
The following is the first post in a four-part series on implementing a dropped objects prevention program. In part one, we’ll look at the first two steps, the Call to Action and the Risk Identification and Scope Definition of your program.
Like climbing ladders or stairs, there are steps to take to implement a dropped objects prevention plan on your jobsite. Regardless of industry, your roadmap to a successful dropped objects program should be:
- Call to Action
- Identify Risk & Define Scope
- Observation/Site Assessment
- Training
- Controlled Implementation
- Policy Creation
- Launch
- Review & Expand
Identifying the Risk
First, an “aha!” moment occurs, a sudden bolt of recognition when a site safety manager, supervisor or someone else recognizes dropped objects as a potential hazard on their jobsite and decides to address them.
This call to action could be reactive in nature, a decision made after an injury or incident (near-miss, equipment damage, etc.) on the job. Or the potential of an accident/injury causes recognition of jobsite deficiencies and leads you to take a more proactive approach. Ideally, you have taken (or will take) a more proactive approach, identifying and addressing an at-heights safety concern before a costly incident occurs. Read more about the Rising Cost of Falling Objects.
Once the effort is triggered, take time to identify the risk and define the scope of the hazard. Risk identification includes the Who, What, and Where of your environment:
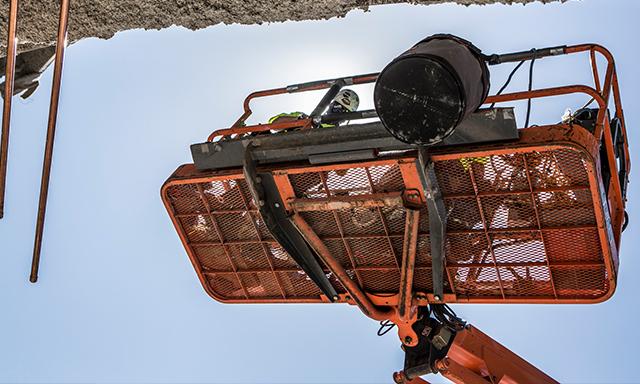
- WHO: Consider crew members at risk and think of how your crew’s work may impact clients, customers, vendors, jobsites deliveries – even the public. Are any of those third-parties at risk when (not if) a tool or an object is dropped?
- WHAT: The potential dropped objects or other unsafe objects (i.e., trip hazards) that should be managed.
- WHERE: The at-heights areas on the jobsite where these risks present themselves, or have the potential to present themselves.
Defining your scope takes these elements and adds the When and How to determine your rollout plan:
- WHEN: Determine a timeline to rollout a dropped objects program, and set goals within that timeline.
- HOW: Consider what types of controls can be implemented and consider the Hierarchy of Controls (HOC) in your thought. More focus on the HOC will be given in later steps.
An additional part of the “How” and “When” is to define a pilot study for your program that will lead you to the third step of this process. Consider all the above and identify an area, site, and/or application where you want to start affecting change. This will be your pilot study. If one specific area has a higher risk level or frequent incidents, start your efforts there.
Communication and Scheduling: Dropped Object Prevention Program
Once you have identified your pilot study area, communication and focus on the objects in that job/area are important.
- Notify the pilot area about the potential for dropped objects and the goals you have for a program. Ensure there is buy-in to be part of the pilot study.
- Think about the kind of work being done in that area. Are there sensitive operations underway or sensitive equipment being used or worked on?
- Complete an inventory log for all at-heights tools in this area. This should include any object or item that can fall such as tools, personal items, PPE and more.
- Choose 6-10 tools from this inventory to be part of the pilot study. Pick the “usual suspects”, considering frequency of use and potential severity of damage if dropped.
Once your call to action is made and you’ve done an overall risk assessment of the jobsite and work within the jobsite, the stage is set through your pilot study to implement objects at heights management for your company.

A lot of planning and forethought goes into developing a thorough dropped objects prevention plan. But when you consider the potential cost of an accident, the time invested up front is more than worth it.
Part Two of our series, will look at the Observation and Assessment of your pilot area and how to train personnel within it. Read Part 2, Part 3 and Part 4 now.